Blog Field notes
by Civic Collection Team · 6 min read
How to Photograph Public Art for Documentation
You're standing in front of a public art piece with a phone in your hand. What do you actually shoot?
Ideally, more than one photograph. An art guide needs your photos to do several different jobs, and for best results on your page hero, map thumbnail and condition assessment, you'll want to capture more than one image. But don't worry, these extra photos won't take more than ten minutes in most cases, once you know what each one is for.
What are these photographs for?
Think about where the picture ends up on your art guide. The hero image runs across the top of the artwork's page at full width, so for that, you'll want to capture the whole object and the area around it. On the map, your image will be cropped down to a thumbnail sitting among dozens of others, so this photo needs to be isolated and legible at a glance. For condition-related photos, you'll want to capture surface, texture, and any damage that's already there. If the art piece has a plaque, banner, or any other associated text, you'll want to capture that as well.
If you steward a few hundred works across a city, that adds up to a real backlog, which is why for your most essential works, you may want to plan a field trip. For this excursion, you'll need to bring some modest supplies:
- Your phone. This is your camera, your GPS receiver, and your notebook. You'll rarely need a better camera than the one you already carry, provided you've got an acceptable phone from the past few years. If you'd like, a DSLR camera can be a great asset as well.
- Something for scale. A person standing beside the work can be a great way to capture a sense of scale right away. If you're documenting solo, a ruler or tape measure laid along the base works well if the piece is small.
- A battery pack. If you're out for a full day of documentation, remember that running your phone's camera and location services simultaneously can drain your phone's battery surprisingly quickly.
- The field checklist, open on the phone, so you capture measurements and condition notes while you're in front of the work.
What makes a good documentation photo?
Frame the whole object with margin on every side. Be generous with margin, as your hero, share card, and marker can all be cut from a photograph with room around the edges, whereas a photo with a leg or corner cut off the frame can barely be used for any of them.
Overcast weather can be great for documentation photos, since a flat sky behaves like a giant softbox. If you must, bright sun is workable, but dappled shade can wreak havoc on your ability to easily extract a cutout for your map markers, and can make the photo useless as a condition report baseline.
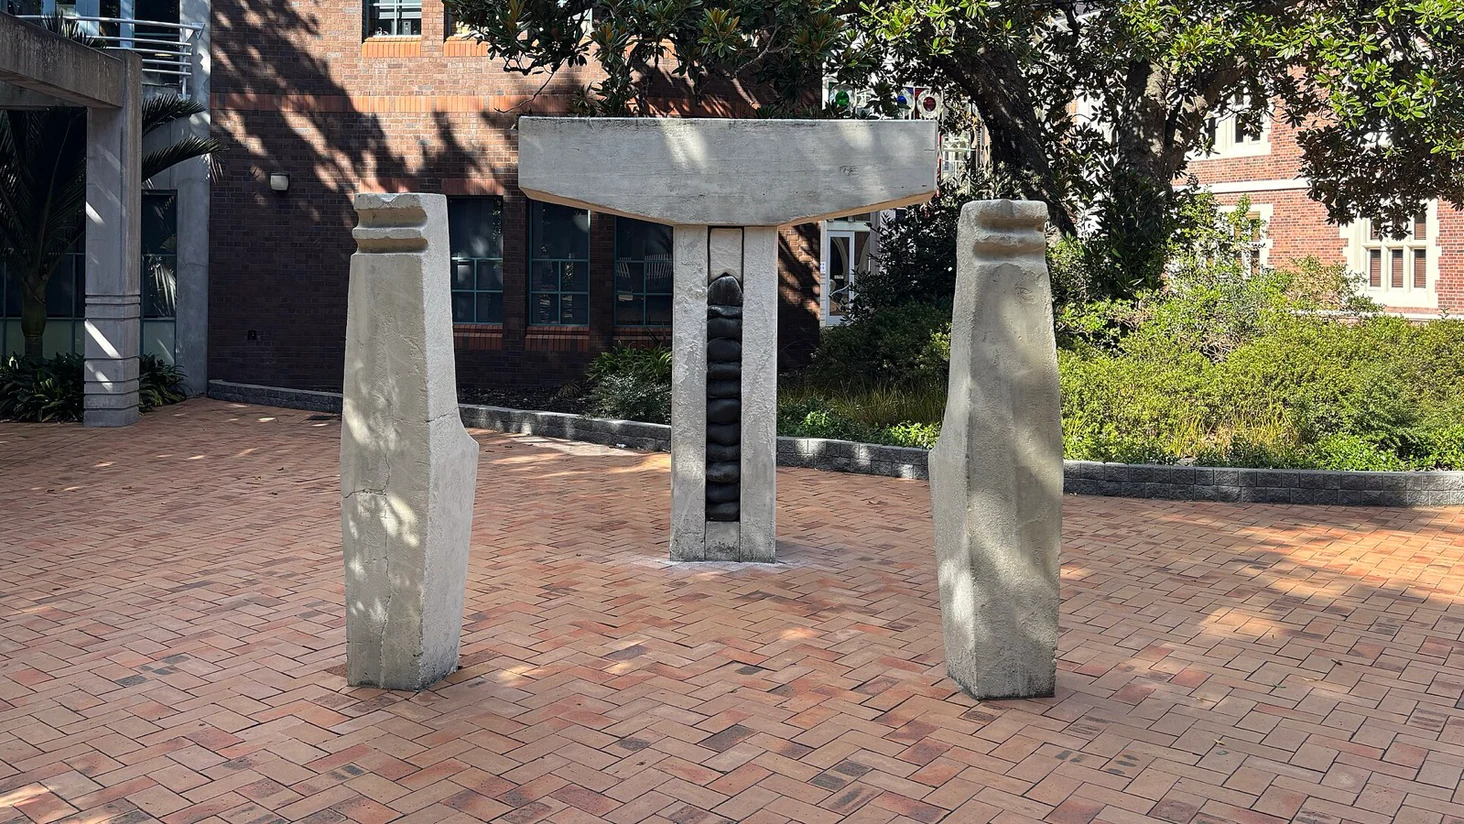
In your full-scale photo, do your best to include some sort of scale reference, if one isn't already present near the art piece. Miniature sculptures and full-scale ones can look very similar in certain conditions, and if the art piece is eventually removed, anyone reading the record in ten years will have no way to tell them apart. Shoot from where a visitor would naturally stand, then walk around the piece and take two or three more photos from other angles. A complex background is welcome in these shots, because spatial context provides a lot of sizing and placement information.
What makes a good display photo?
For a simple display photo, position yourself to capture a plain background if possible. This might involve dropping low enough to place the sky behind the object, moving around it to place it against a blank wall or grass instead of bushes. Center the piece and leave breathing room on all four sides, leaving room for the marker crop to do its job without cutting off any important elements from the image.
On an interactive map, this image will appear at fingernail size alongside dozens of neighbors, and the detail we want to capture for documentation disappears at this size. You can watch both jobs happening at once on the Calgary Public Art Guide, where every work has a full-width page image as well as a cropped marker image.
Shoot the plaque
Interpretive signage carries the work's title, artist, year, materials, donor, and sometimes commissioning story. If you're strapped for time while documenting a work, photographing the plaque can flag this as transcription you can do later at a desk, with correct spelling and the artist's name checked against your art guide's roster. This can be an easier way of transcribing the work than trying to type it into your phone while you're out in the field.
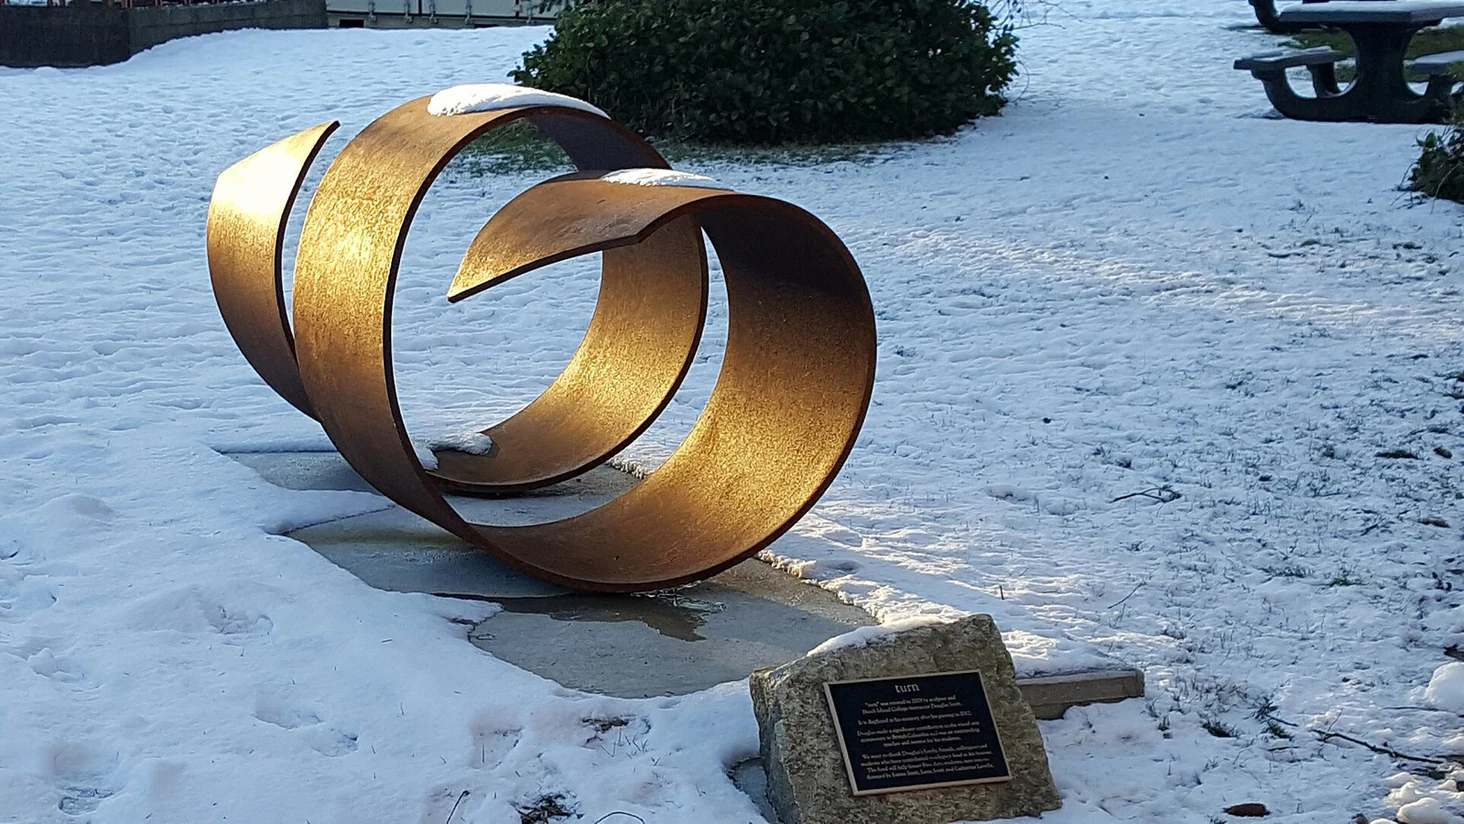
If you've only got time or capacity for one or two photographs, make them the whole work and the plaque, in that order. Between them they establish that the piece existed, what condition it was in, and who to credit. When there's no plaque and no name to be found, the record is still worth making based on what you can see.
Can you publish what you shot?
Taking a photograph and publishing it are entirely different matters. Freedom of panorama is a rule that governs publishing, and the rules vary by country. Canada's Copyright Act permits reproducing sculptures and works of artistic craftsmanship permanently situated in a public place. The United States equivalent covers buildings only, and commercial use of a photograph of a copyrighted sculpture can still infringe even when the sculpture stands in a public park. Temporary work sits outside of this, so if you're photographing festival pieces, you may need explicit permission.
The photographer's name should also be documented, whether it's a staff member, volunteer, contractor, or community member. Record the photographer's name and the date alongside the file, since moral rights and photo credit both have a place in your documentation.
None of this has to be finished before your collection goes online. A single well-framed photograph beats a perfect set that never gets taken, and a quick snapshot on a weekday walk in dappled light still serves your guide better than a record without a photo at all. If you want to start right away, take a walk from your office or home on the next gray afternoon, and grab a few photos of what you see.
If you steward a collection and want to gather your city's art photographs, measurements, and credit under one record your team controls, that is what collections management is built for. Book a demo and we'll look at your collection together.